Cricut DIY Christmas Masks Tutorial
Chapter DISCLOSURE: This mail contains affiliate links. We earn a small commission from qualifying purchases.
These DIY Christmas Masks are a super fun activity to practise with your kids during the holiday flavor. You can brand them with your Cricut.
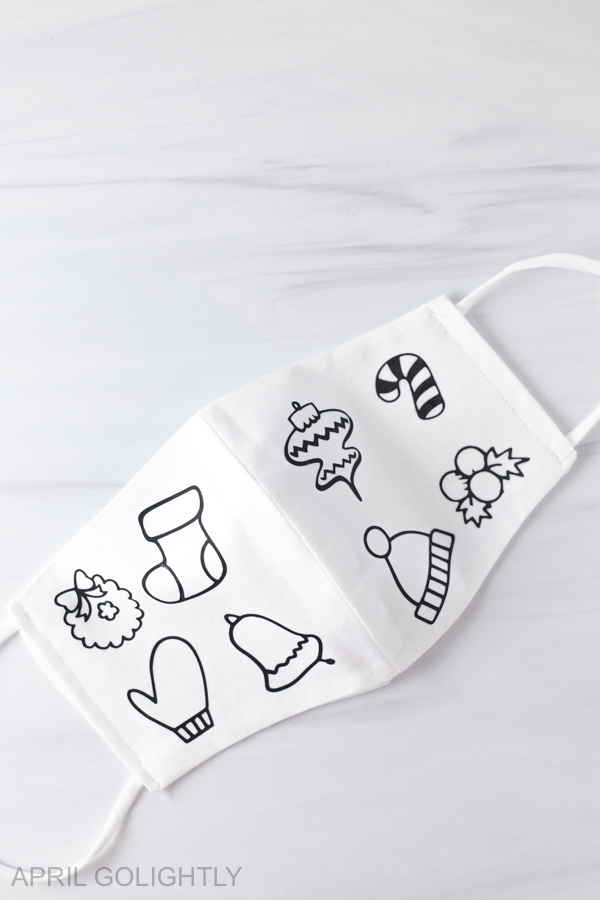
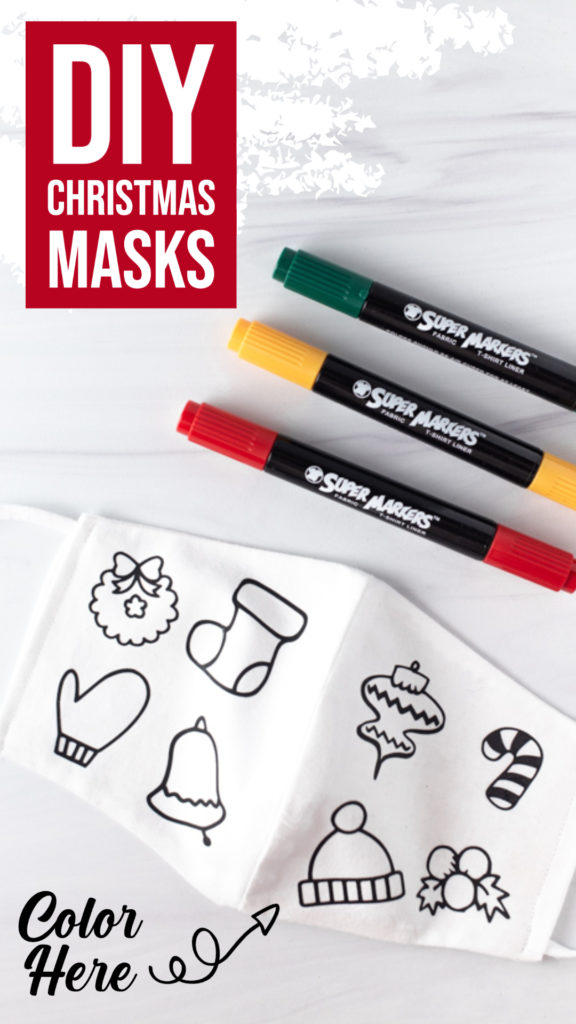
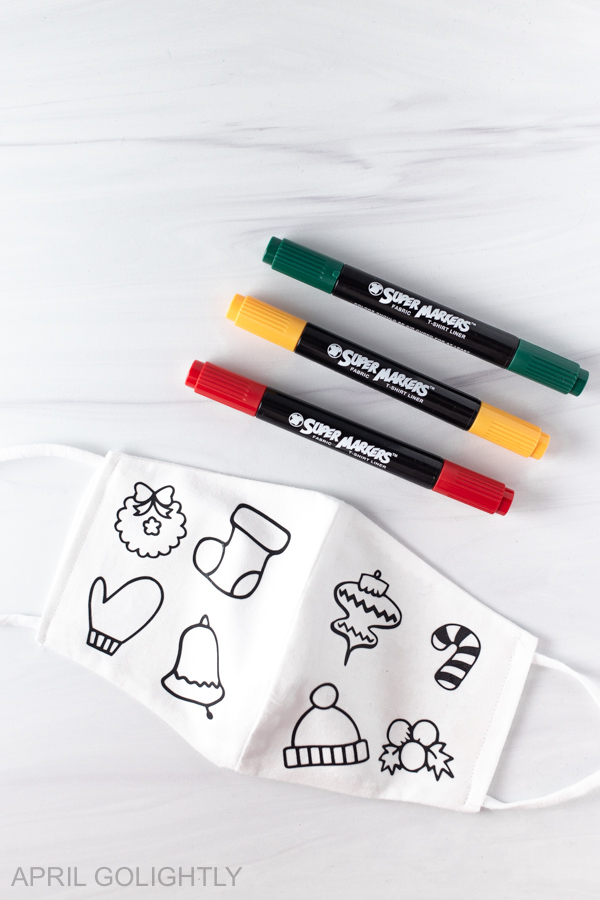
This is a super fun DIY projection that you can make for your kids to colour. All you need to do to make these Coloring Masks is add together the outlines to the masks using this Cricut file.
The Cricut file and designs are properly sized and then that you tin can use several different prune fine art to your Christmas face masks.
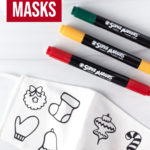
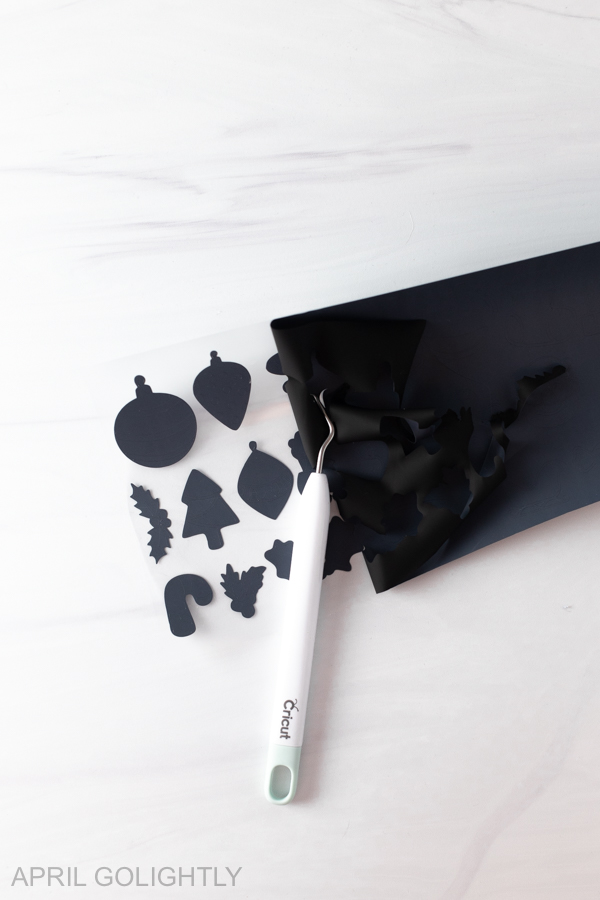
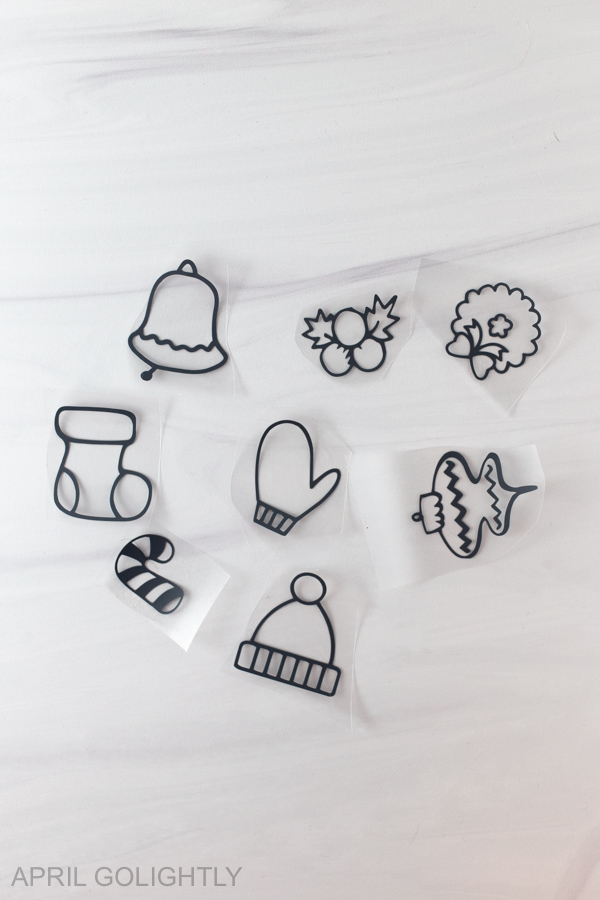
For these face coverings, nosotros have cute clip fine art of candy canes, Christmas wreath, holiday bell, mittens, stockings, holly, Christmas ornaments, and a Santa lid.
Cricut Christmas Masks Tutorial
This is such a fun project for kids during the holidays. Information technology is also a swell way for kids to make Christmas themed gifts for grandparents and friends. I know your kids volition love making vacation face masks as much as my daughter did.
If you practise non want to brand these Christmas masks yourself, you tin can buy them here from my Etsy store – Twice the Dreams.
Tools & Supplies
Y'all tin can make your own face mask with the Cricut Maker or buy a solid color white mask online.
- Cricut Maker or Cricut Joy or Cricut Explore II
- Standard Grip Mat
- Acrylic Ruler
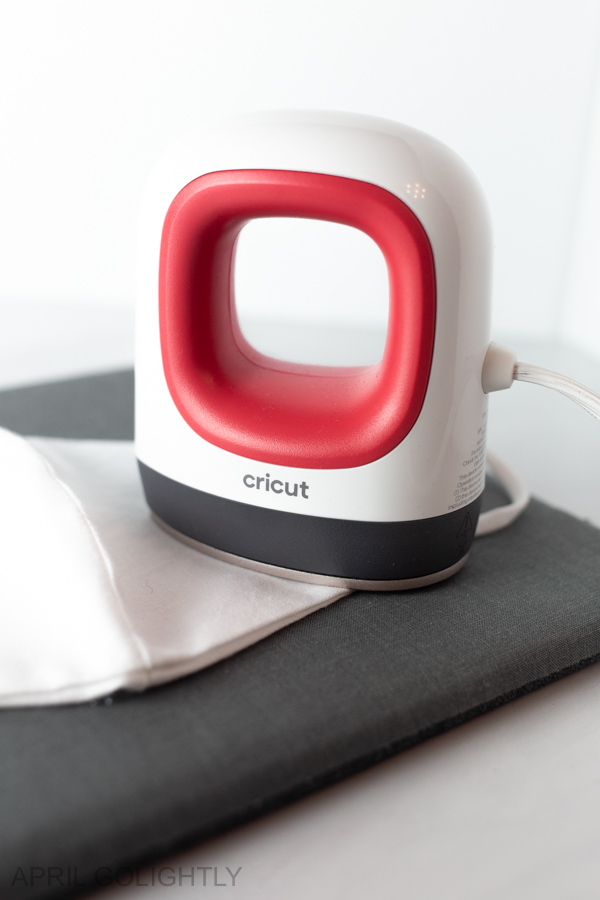
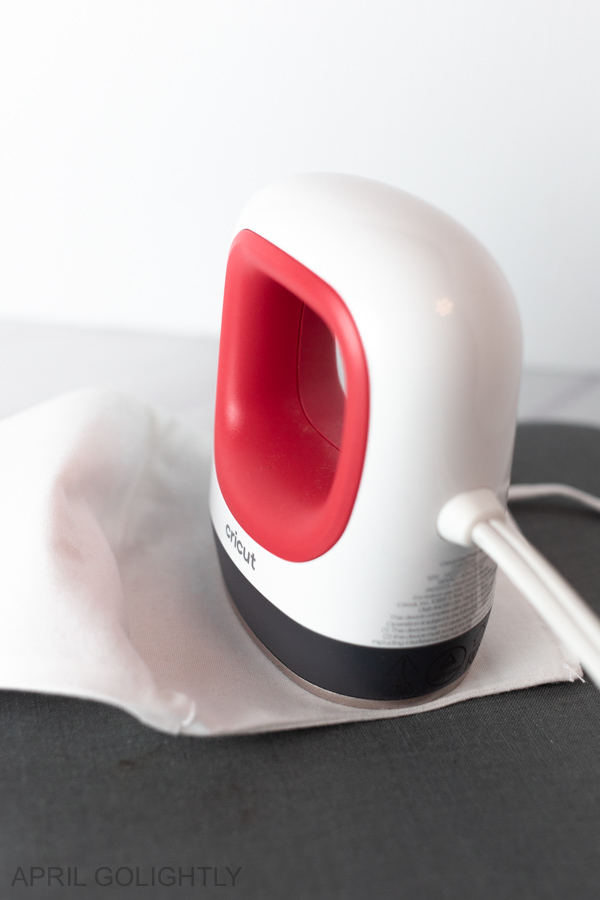
- Cricut EasyPress Mini
- Cricut Everyday Iron On Vinyl
- Cricut Easy Press Mat
- Weeding Tools
- Cricut DIY Mask or White Masks
- Cricut Design File
To make your ain cloth face masks, you will need white fabric, white elastic, and white thread along with a sewing machine.
Here are the cloth markers we used to color the fabric.
You lot tin use the Cricut Maker to cutting fabric. Here are some pre-made adjustable ear loop elastics in a ton of colors.
Here are some more DIY Cricut Projects yous have to try this holiday season: Cricut Infusible Ink – Personalized Christmas Shirts, DIY Christmas Coasters, Kid'south Colored Christmas Ornamentation, and Christmas Shirts For Family.
How to Make the Heat Transfer Vinyl Masks?
Open the Cricut Pattern Infinite on your computer. You can do this from your phone and tablet as well.
Open this Cricut Blueprint File.
Now, hit MAKE it in dark-green in the upper right corner.
How to Print Using Cricut Everyday Iron On Vinyl?
To use Cricut Everyday iron on vinyl, y'all should use the green circuit canvas with the standard stickiness.
Place the Everyday Vinyl shiny side down on the green standard grip Cricut mat.
Brand sure it is secure and try to avoid bubbles.
Load the greenish sheet with the Everyday Fe-On Vinyl on it using the arrows and make sure the Cricut pulls it in properly.
On the computer, choose the machine and make sure that yous are reversing the image.
Also, cull the type of Cricut Everyday Iron-on vinyl past selecting from the Cricut database of fabric. At that place are and so many – make certain you get the right one.
Ensure that the Cricut has space behind and in front and so it tin can piece of work properly.
When the C – Cricut symbol is flashing, printing it and watch the Cricut cutting the letters.
Remove the sheet with the arrows.
Pull off the Vinyl and cut the space where the letters are.
Remove everything except the letters from the canvas using the weeding tools.
How to Print Using Cricut Everyday Atomic number 26 On Vinyl?
To use Cricut Everyday fe on vinyl, y'all should utilise the green circuit sheet with the standard stickiness.
Identify the Everyday vinyl shiny side down on the green standard grip Cricut mat. Brand sure it is secure and effort to avoid bubbles.
Load the green sheet with the Everyday vinyl on it using the arrows and make certain the Cricut pulls it in properly.
On the estimator, choose the machine and make sure that you striking the toggle to MIRROR the Prototype.
As well, choose the type of Cricut Everyday iron-on vinyl by selecting from the Cricut database of material. There are and then many – make sure yous get the right one.Ensure that the Cricut has space behind and in front so information technology can work properly.
When the C – Cricut symbol is flashing, press it and lookout the Cricut cut the letters.
Remove the sheet with the arrows.
Using the weeding tools, remove the negative pieces so that just your design remains.
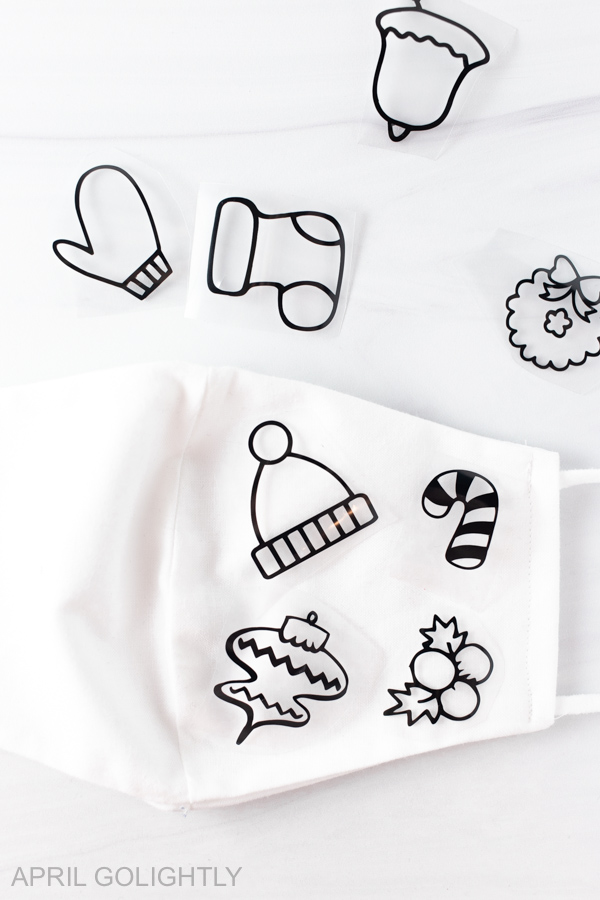
Cut around the designs and so that yous can place them on the mask.
Pressing Everyday Atomic number 26-On
Check the cloth of the mask before pressing. It makes a divergence if the mask is 100% cotton or a blend of cotton. The Cricut Heat Guide is my go to choice for
If you are using a 100% cotton mask like we did here, follow these instructions.
Set the Cricut Mini Press to Medium with 2 confined lit upwardly. Wait until the lite turns dark-green.
The Cricut EasyPress Mini does not have a timer so simply your phone timer or Alexa to time.
Place the whole design to get the spacing.
Preheat the masks with the EasyPress Mini for v seconds before adding the vinyl.
Place atomic number 26-on material face downwardly, liner side up.
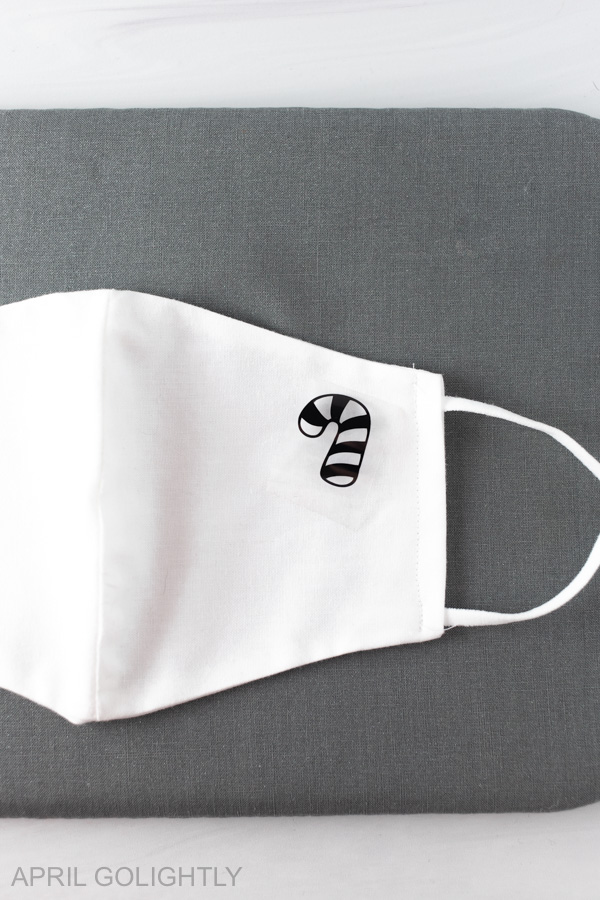
Press while moving with light pressure level at medium setting for 25 seconds.
Flip 100% cotton wool over and printing for fifteen seconds.
Slowly remove liner while warm, non common cold.
Mask Care NOTES
Allow 24 hours after application before washing
Wash and tumble dry is fine, just exercise not bleach.
Who do you plan to make these Christmas themed face masks for?
What Cricut projects are you lot doing for gifts for the Christmas vacation? I have a list that I am planning for the next few weeks. Stay tuned!
Source: https://aprilgolightly.com/diy-christmas-masks-tutorial/
0 Response to "Cricut DIY Christmas Masks Tutorial"
Post a Comment